

Configure Active Directory Domain Services
In this post, we will configure the Active Directory services on the windows server we set up in Part 1 of this series and learn how to quickly automate the process of creating 100 domain users with a PowerShell Script, Create multiple active directory attack vectors, then add windows 10 workstation to our domain.
Active Directory Setup
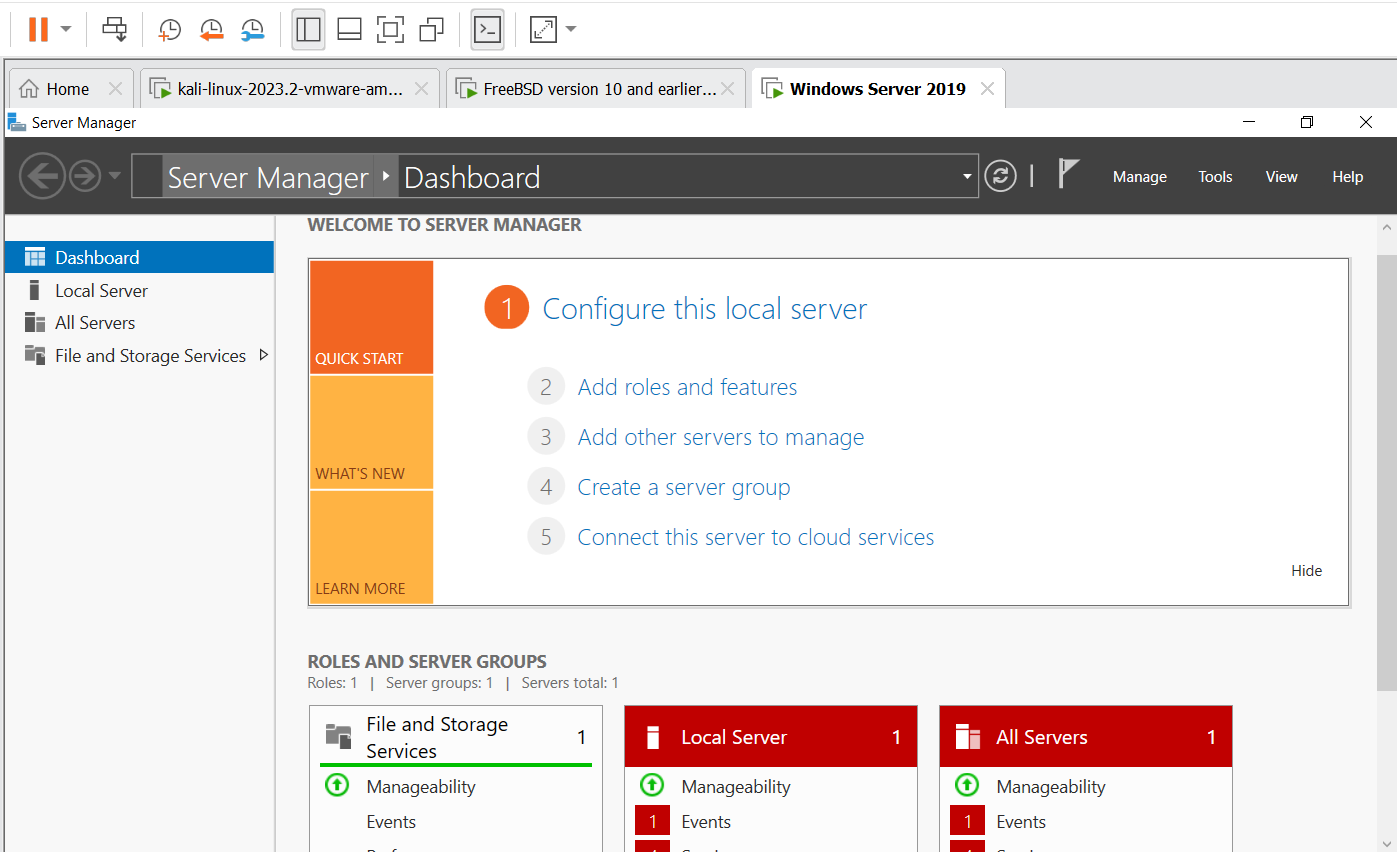
We will start installing the Active Directory services and create the forest root domain called “ATTACKLAB.LOCAL”. To begin the setup process, we click on the “Add roles and features” option in the server’s dashboard to add the AD role.
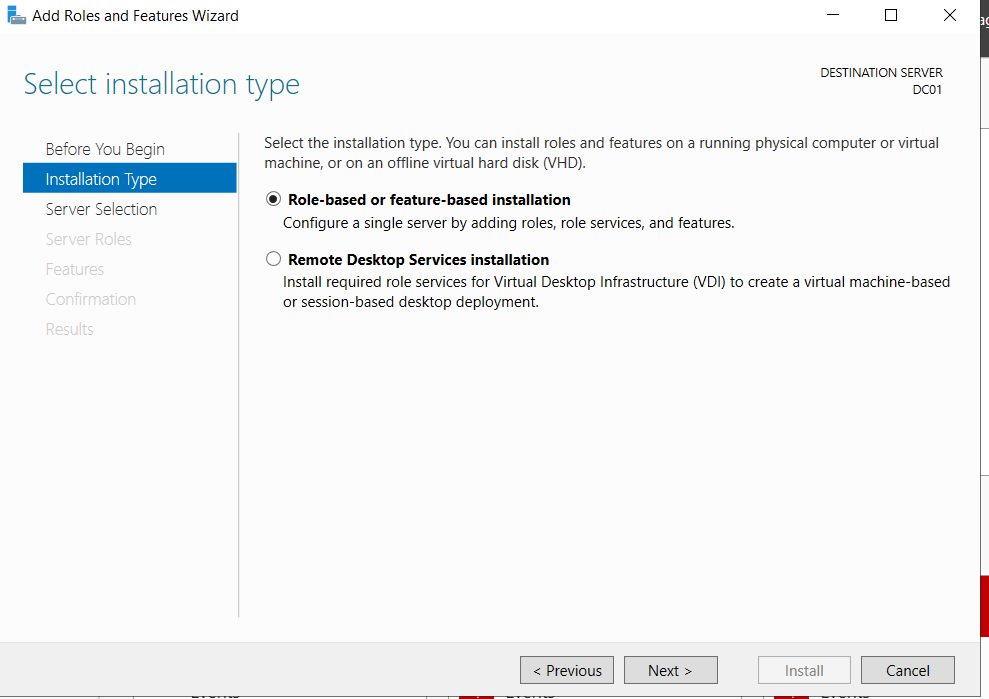
Next, select the server from the Server Pool list; in our case, “DC01” and click “Next”.


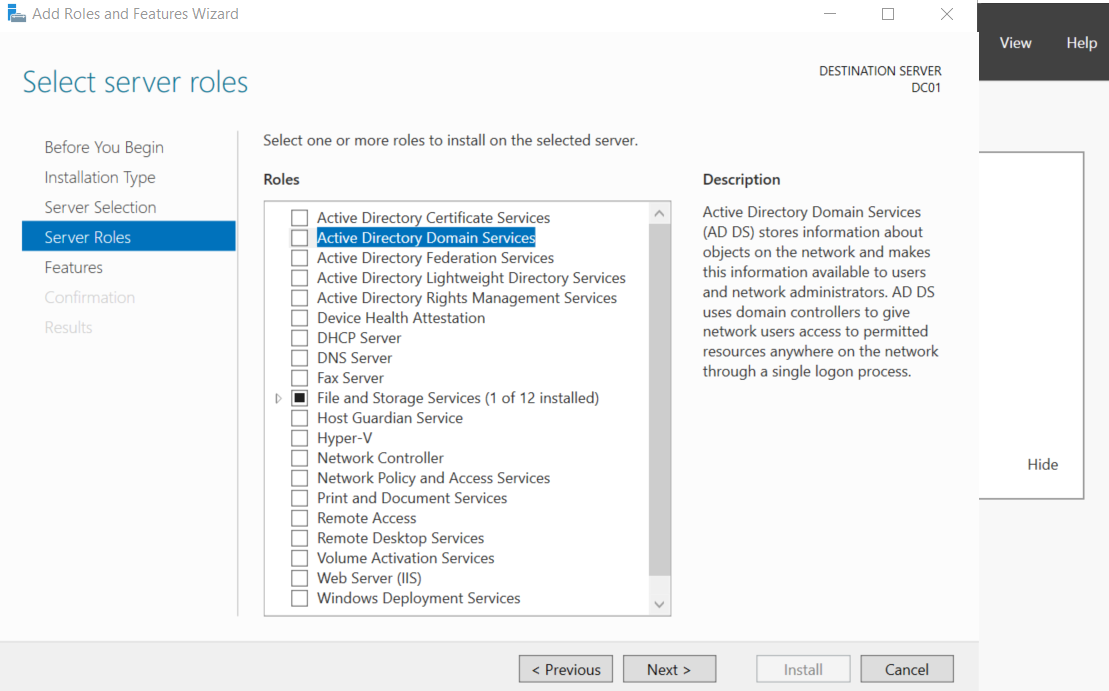
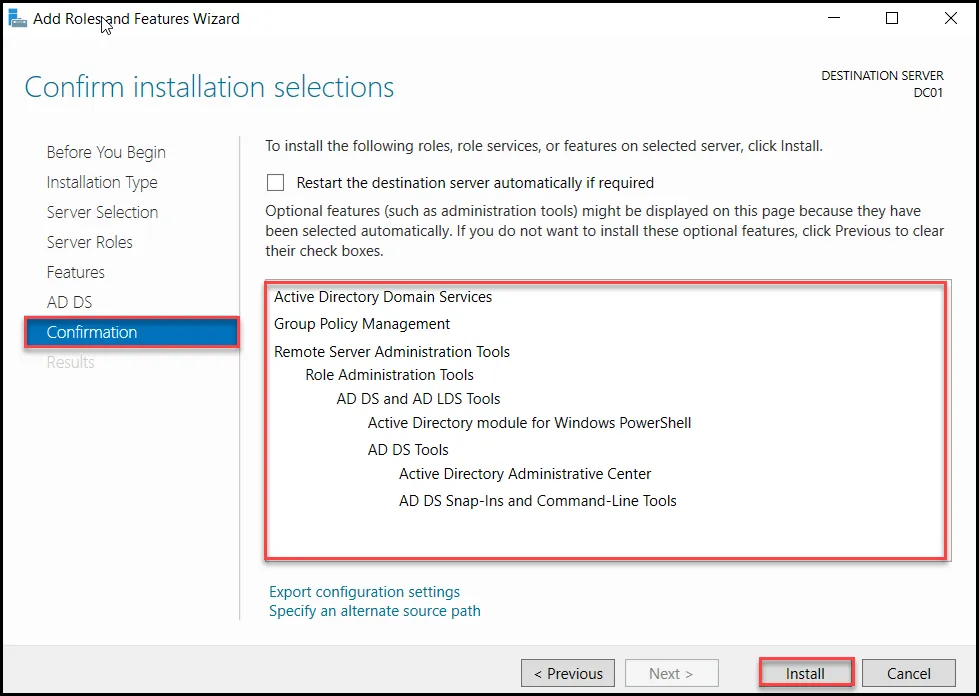
In the Server Roles section, check the “Active Directory Domain Services” box and click on “Add Features” to install the additional capabilities that come with the role.
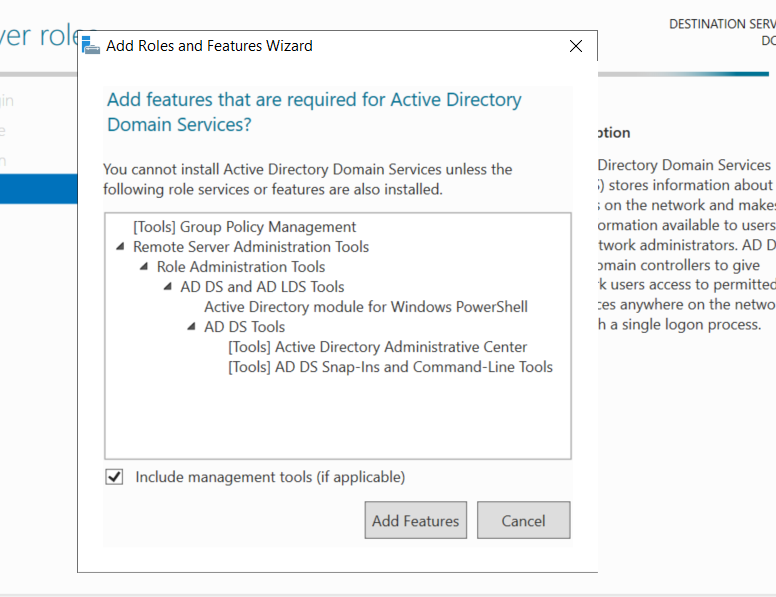
Here We need add to Group Policy Management Feature , so we check it . 
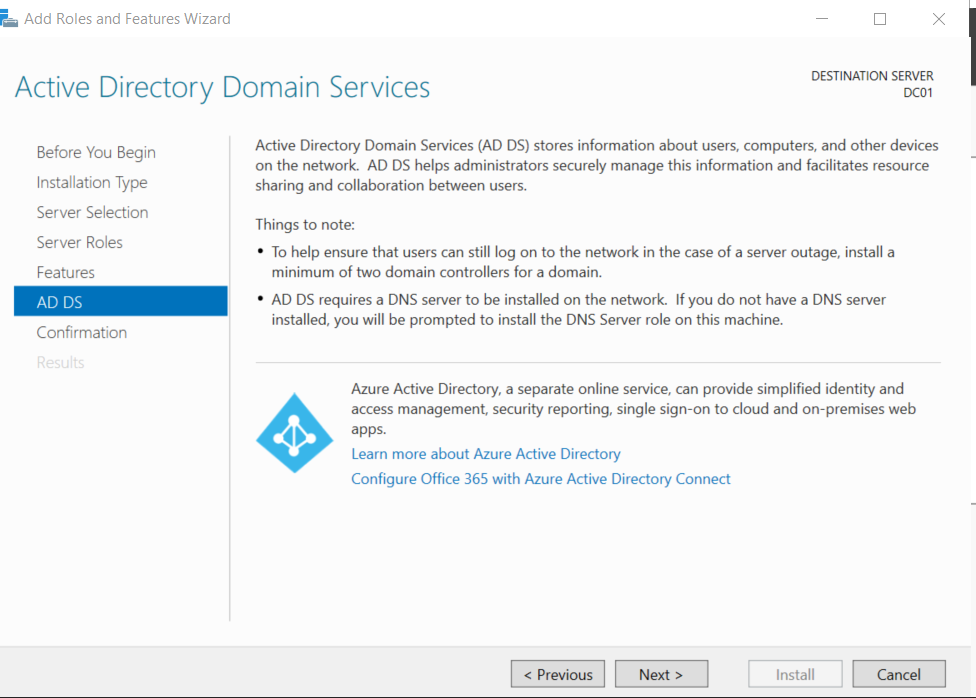
After the installation is complete, a new notification will show for the Post-deployment Configuration to ask if we want to promote the server to a domain controller.
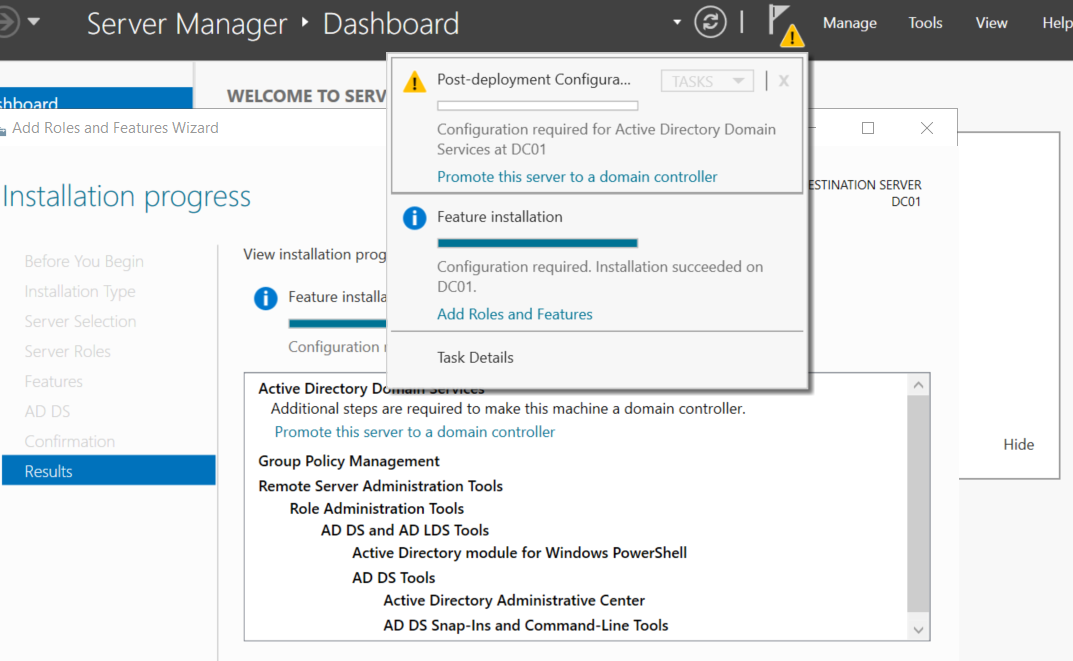
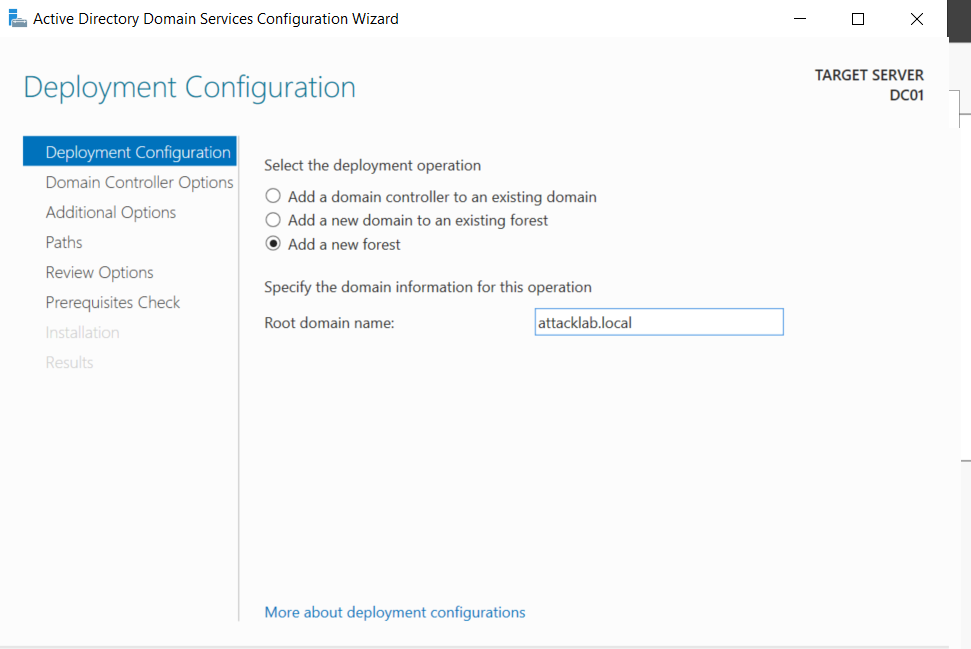
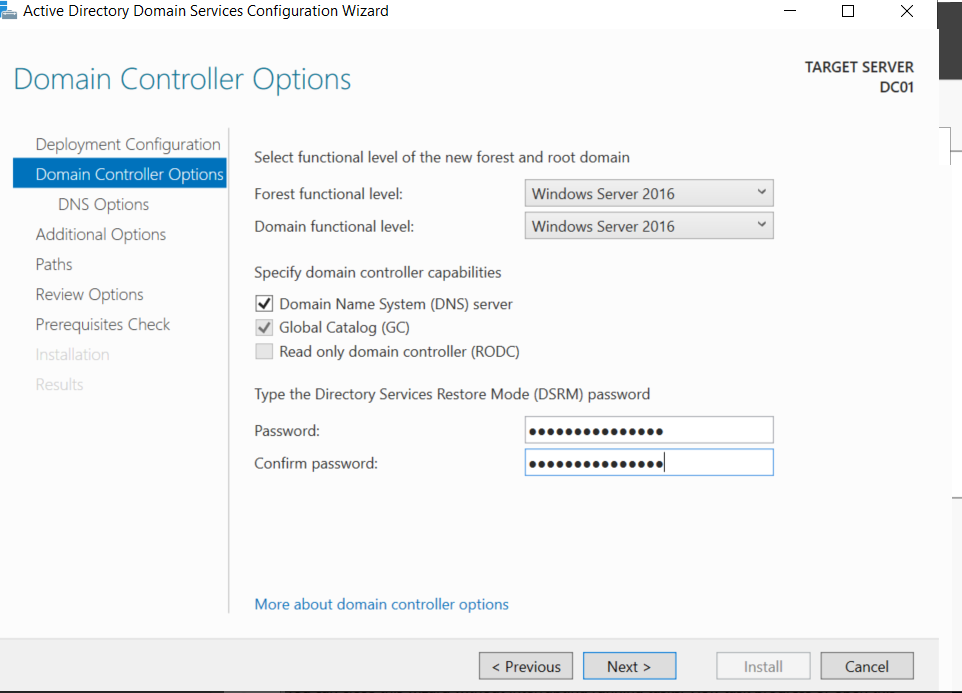
Click on it to start the Domain Controller configuration, and select Add a new forest; we will call the lab forest attacklab.local”.
Directory Services Restore Mode (DSRM)is a special boot mode only available on the domain controller that allows the domain administrators to log into the domain controller using the DSRM password when the Active Directory fails. It is the local administrator account for the domain controller server.
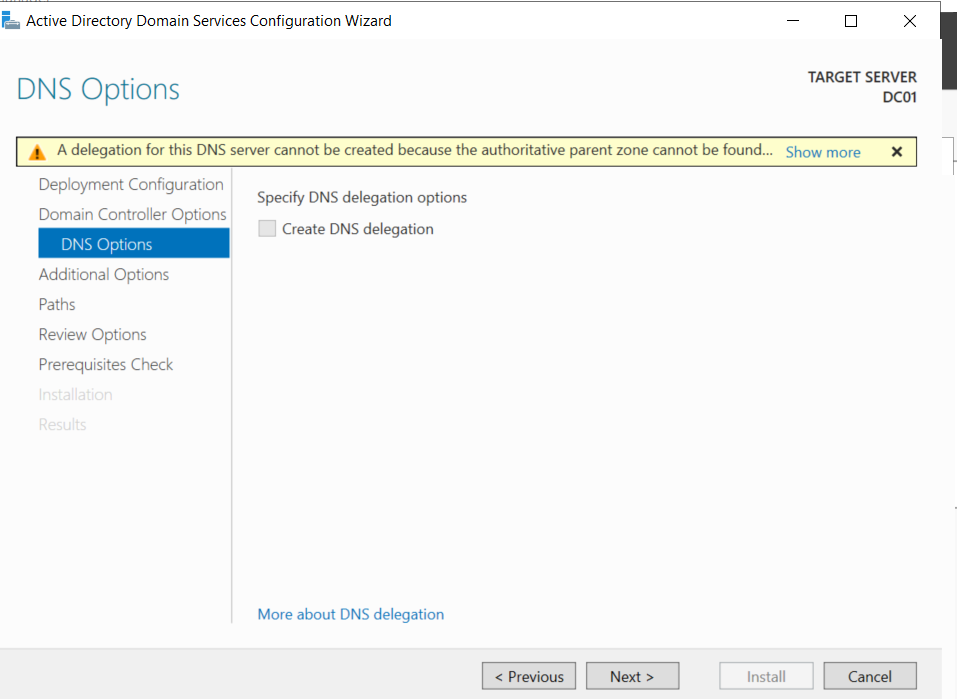
For the DNS Options, we will leave the “Create DNS Delegation” box unchecked and click “Next”.
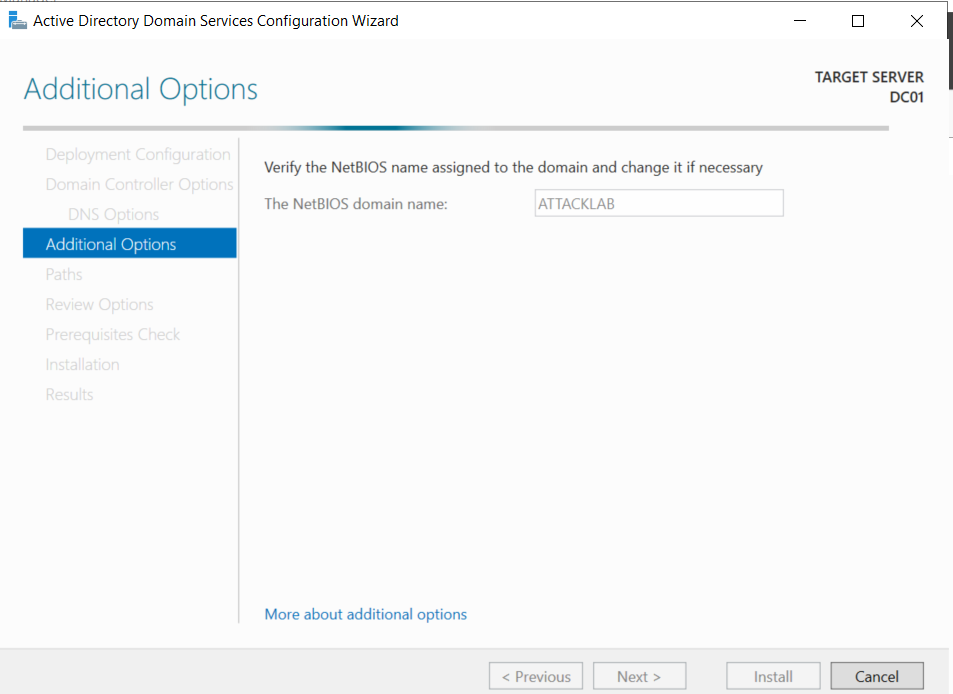
Verify the NetBIOS domain name is the same as the forest name; in our case, it is ATTACKLAB. If all is good, click “Next” to move to the “Paths” section.
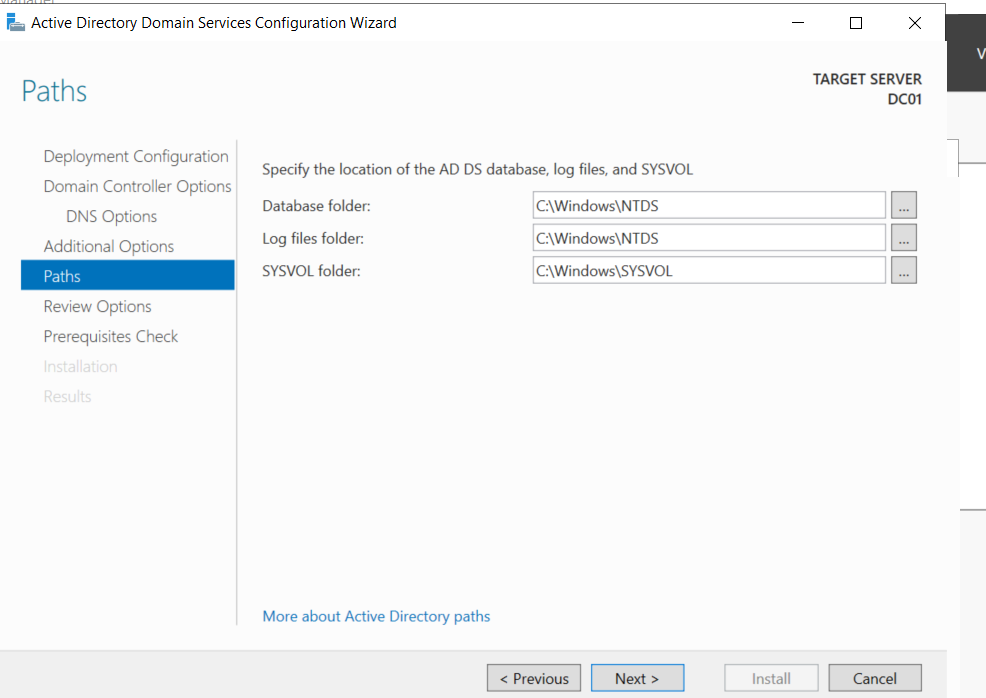
NTDS is a database that stores Active Directory data, including information about users, computers, groups, and network resource objects.
SYSVOL folder is located locally on the domain controller. It consists of public files, folders such as Group Policy Objects (GPOs), and scripts used to manage the domain users and computers in the forest.

Now that we have configured everything we need for the Active Directory, we can see that all prequisite checks passed successfully, So we can click On “Install” in the “Pre-requisite Check” section. The process will take a few seconds, and you will need to reboot the machine when it ends.

After the machine restarts, we can go to the server dashboard and check the newly created domain “attacklab.local”.
Now we have installed Active Directory, take a snapshot of the current state before adding domain users.
Configure Vulnerable Active Directory
Now we need to configure our vulnerable Active Directory, which allows us to test most of active directory attacks in our local lab. To automate the process, we can import this PowerShell script.
You can download this script from Here.
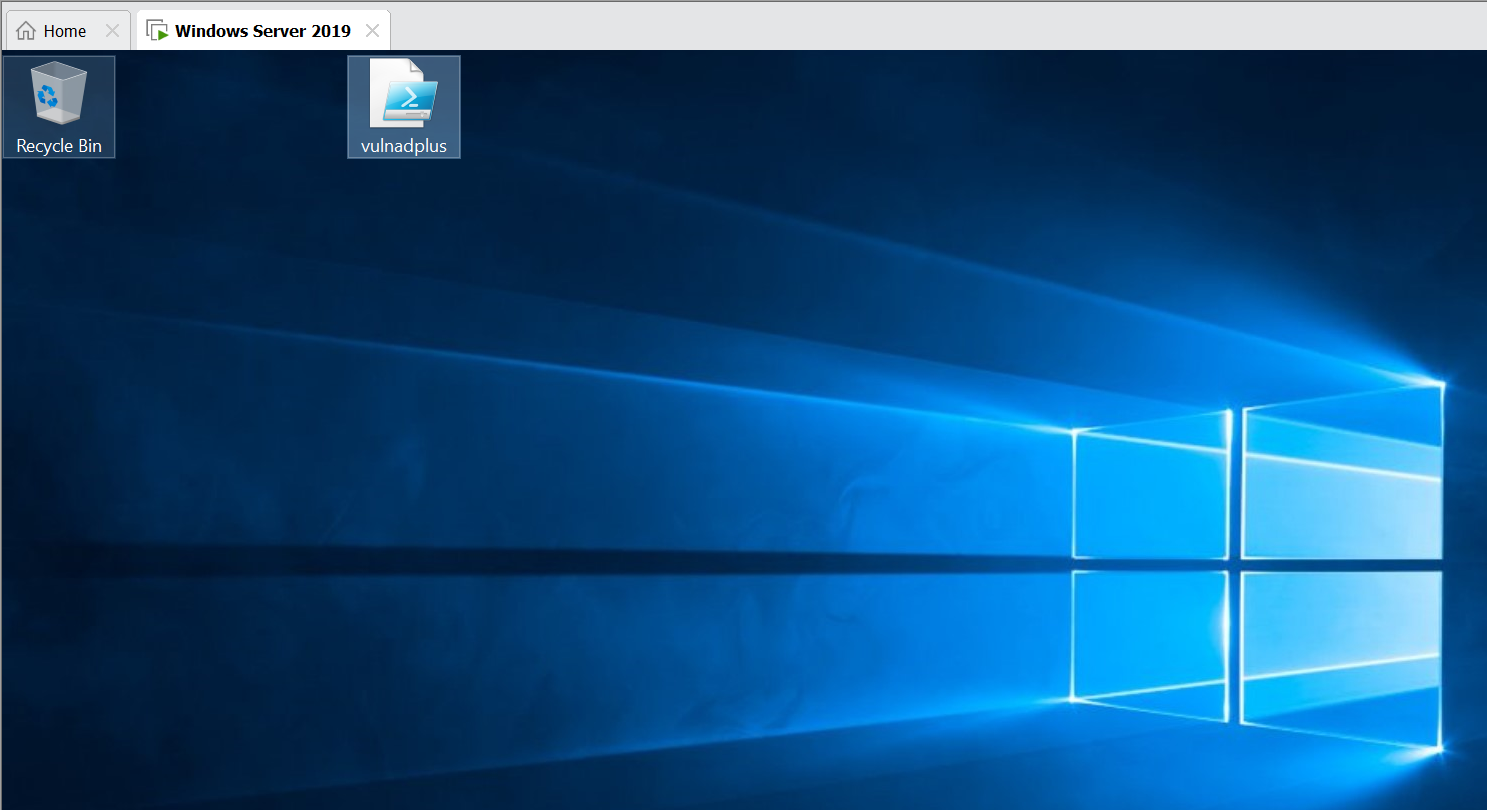
We import Vulnadplus.ps1 powershell script to domain controller.
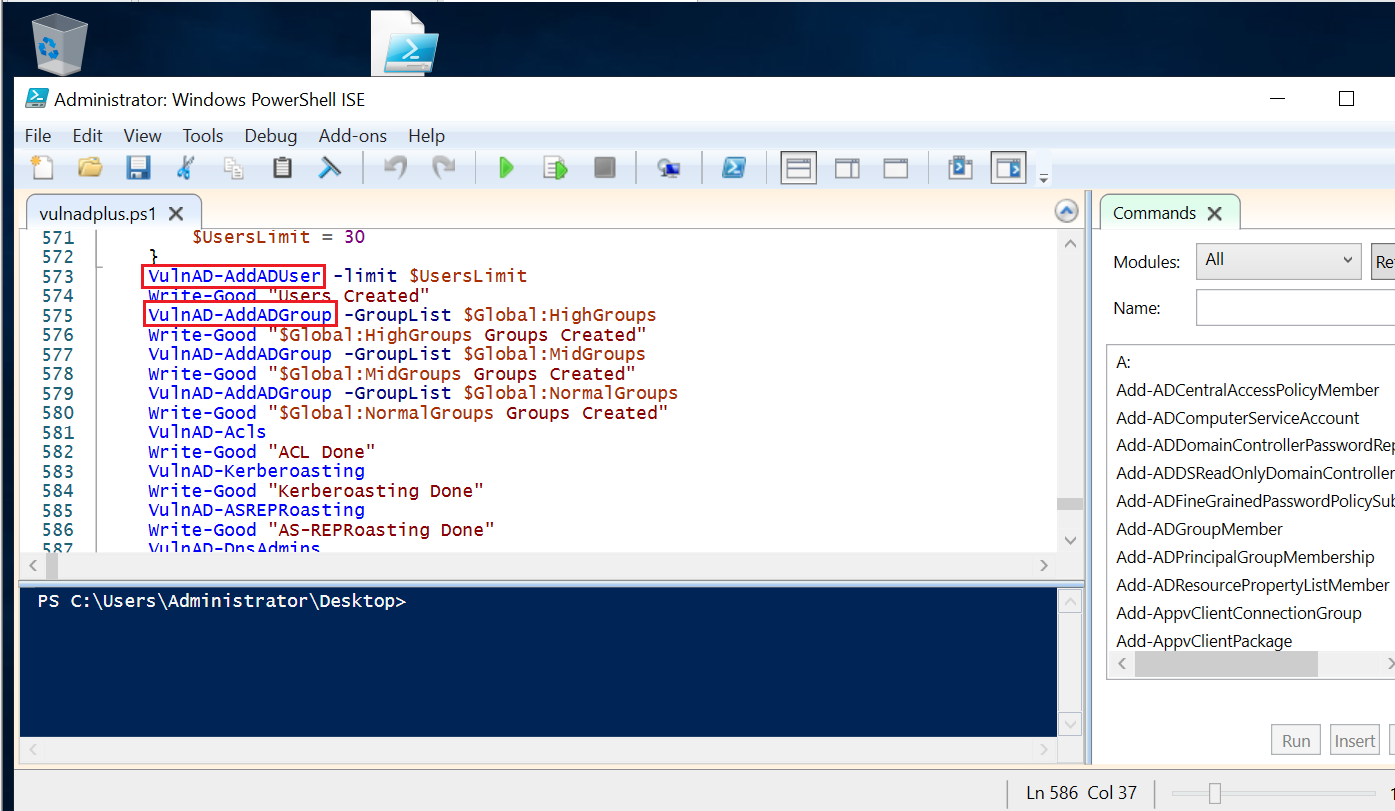
The powershell script have many functions that create many OU such as users, groups, machines…etc.
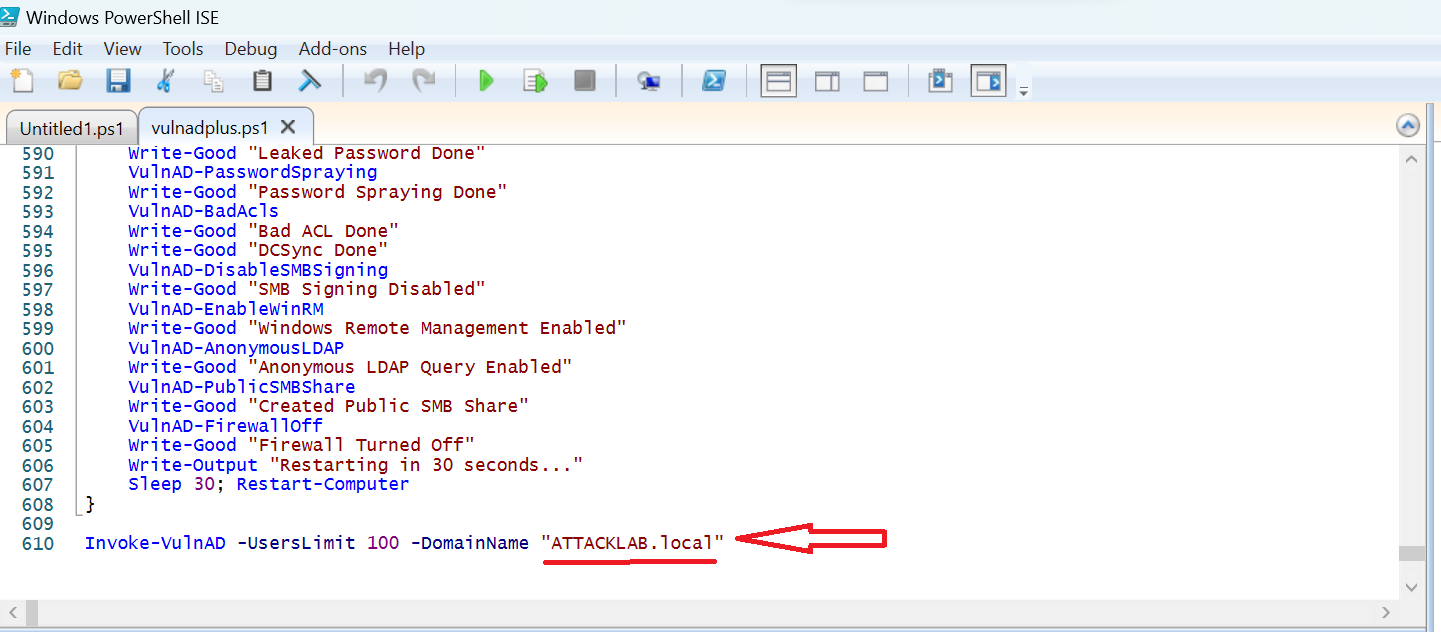
Before execute the powershell script change the -DomainName to our domain name attacklab.local

After we execute the script use see the new created text file under the name generate.txt , This file contains all OU Created.
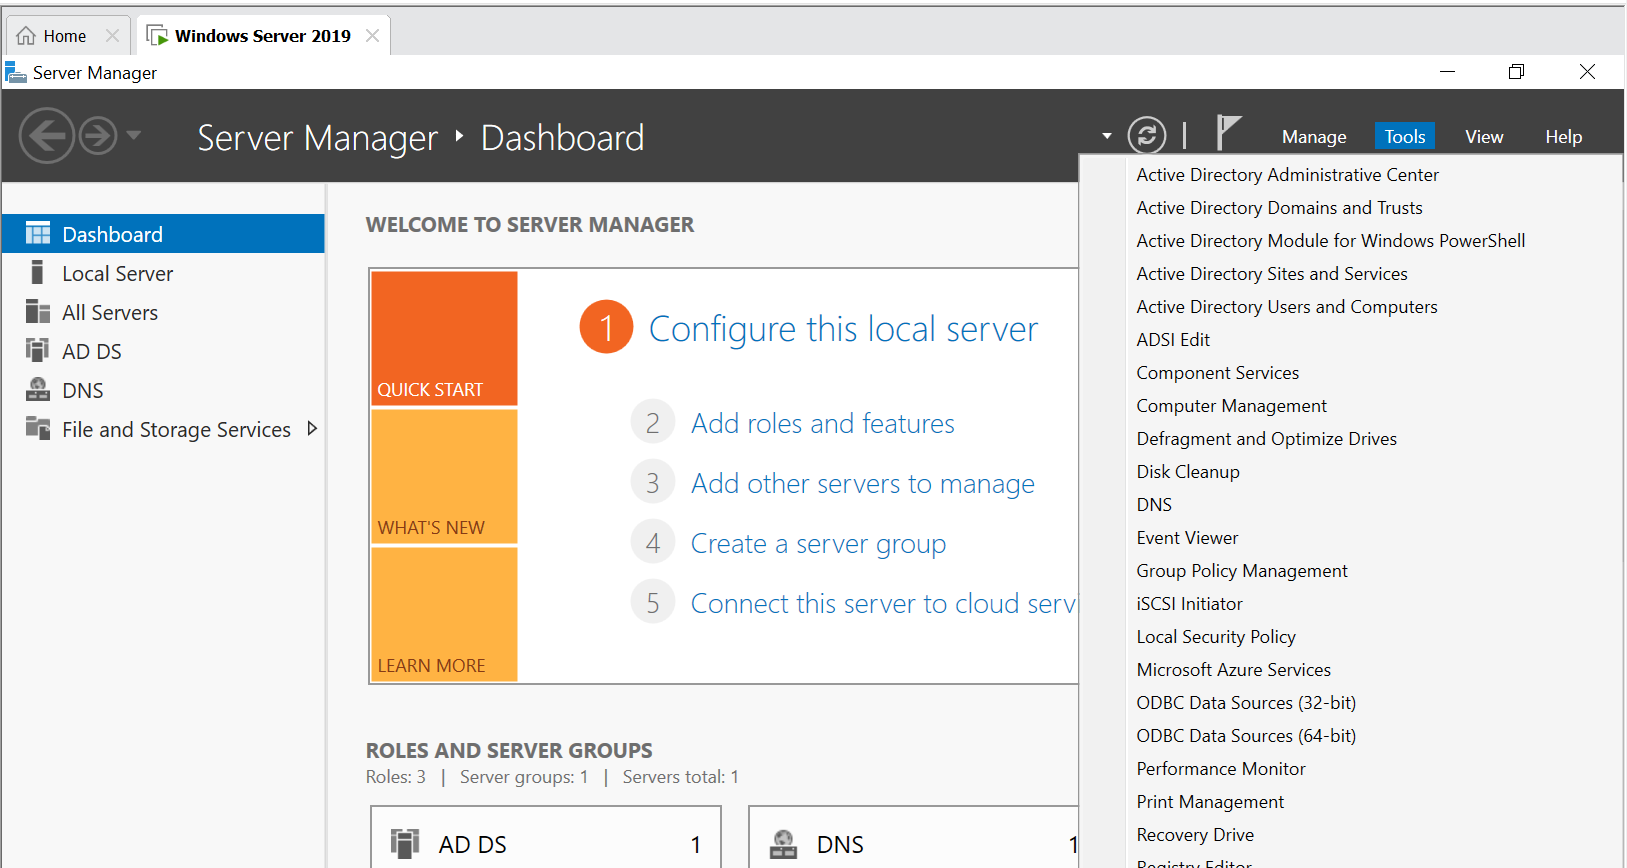
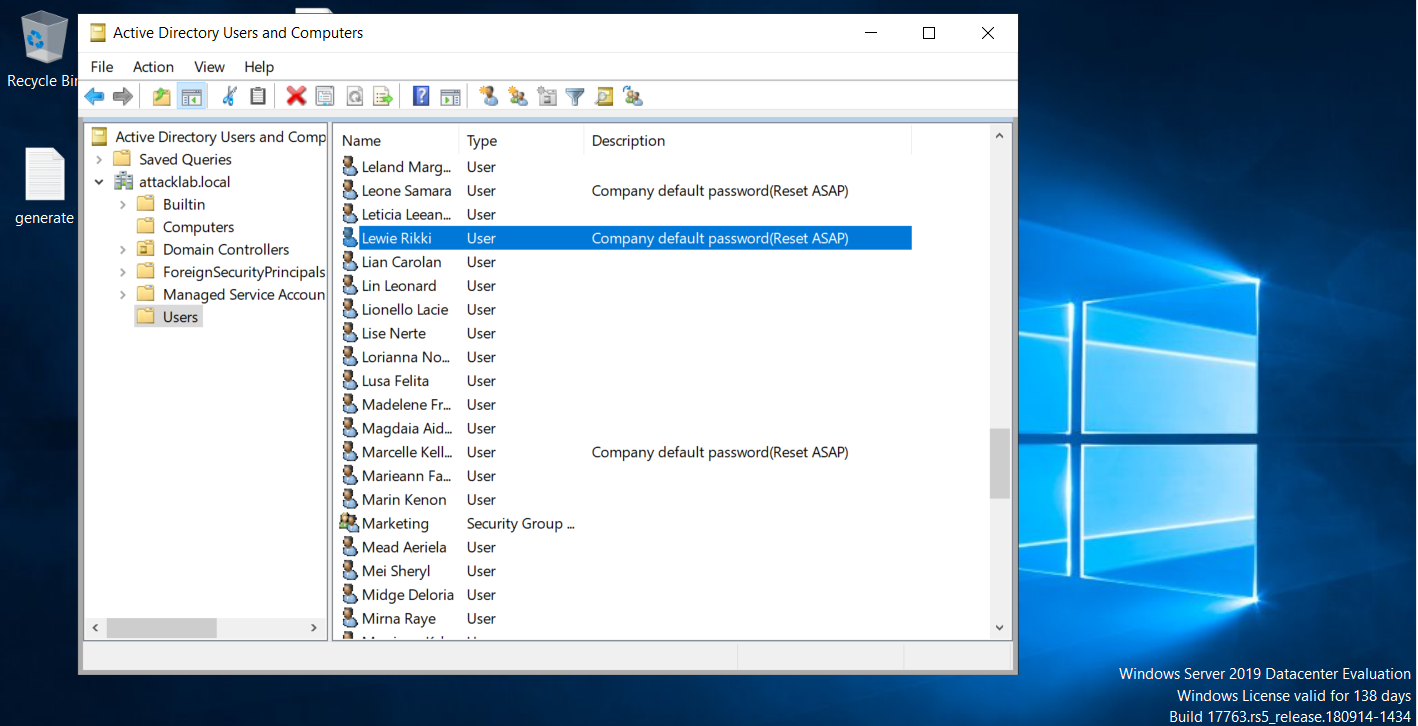
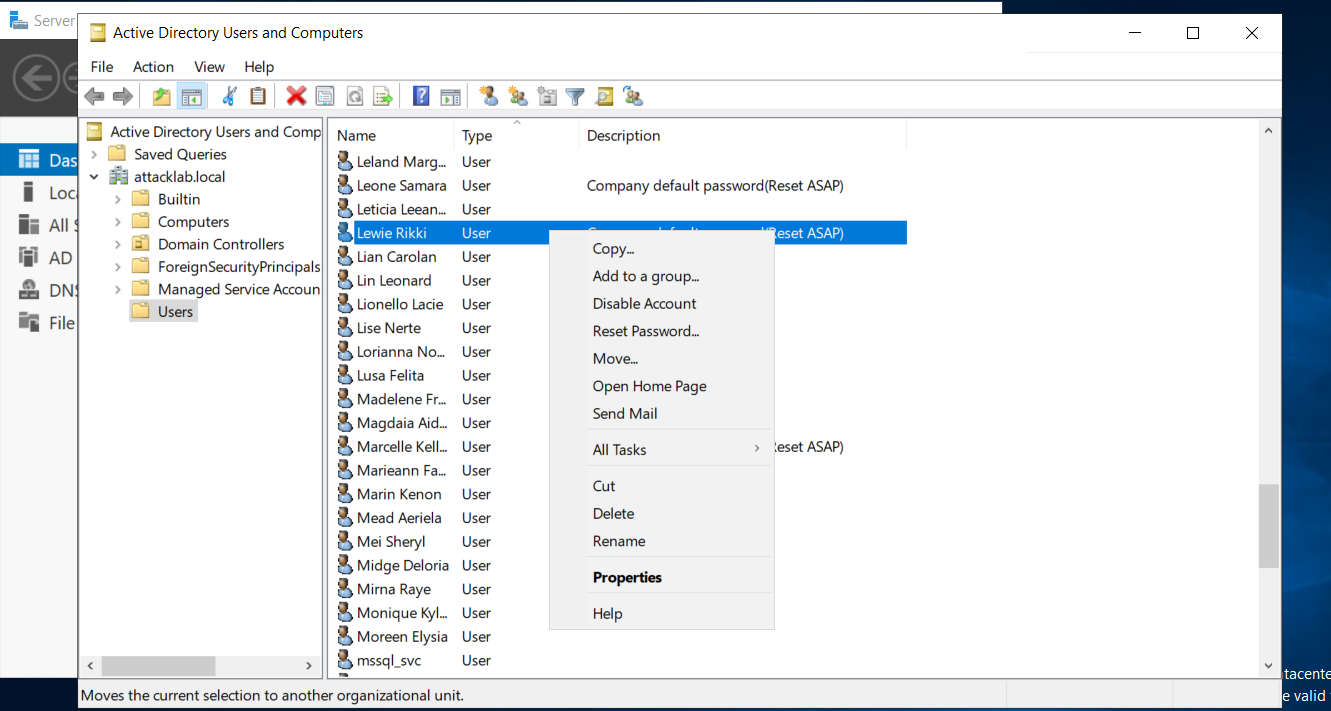
Now from server manager go to Tools>Active Directory Users and Computers Than choose a user which have a description like this Company default password(Reset ASAP) than click on password change, As we gonna need this low privilege user as starting point in our vulnerable lab.
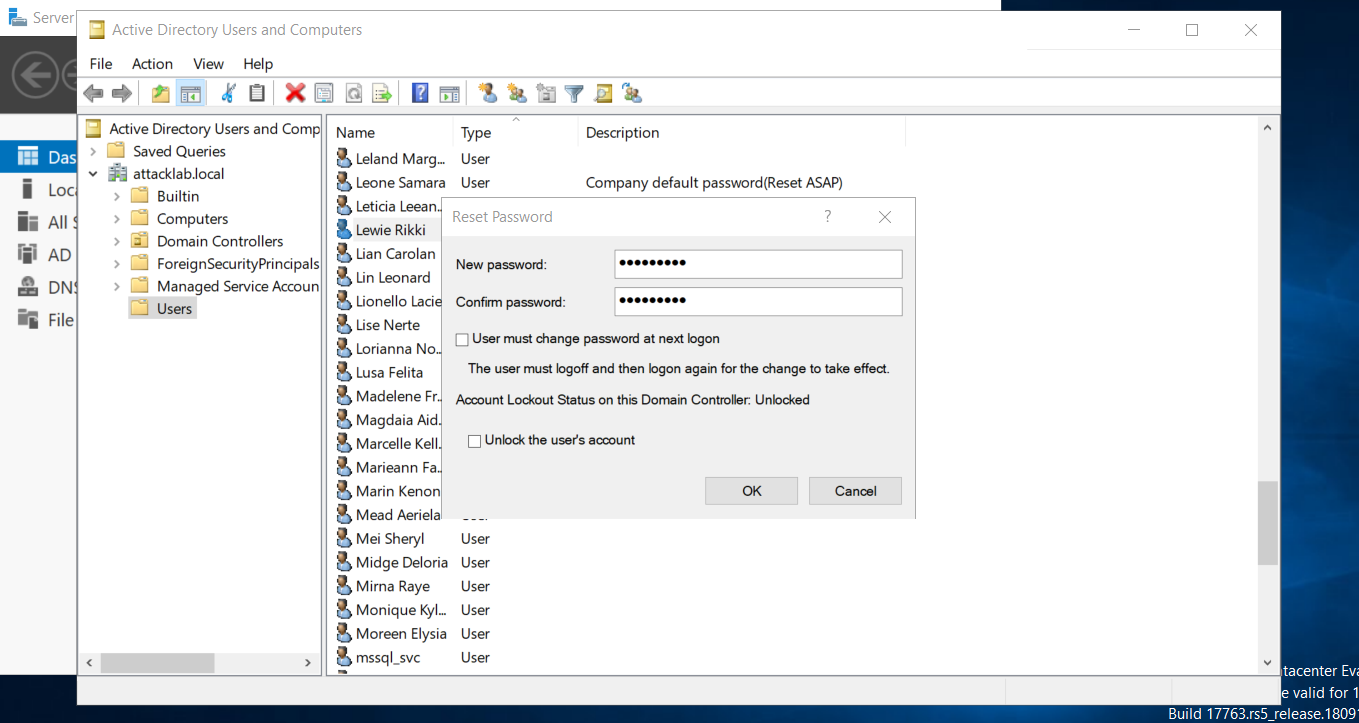
Add a new password for the chosen user and uncheck User must change password at next logon.
Joining Windows 10 Workstation To ATTACKLAB.LOCAL
To add windows 10 to the domain we need to configure network adapter of windows 10.
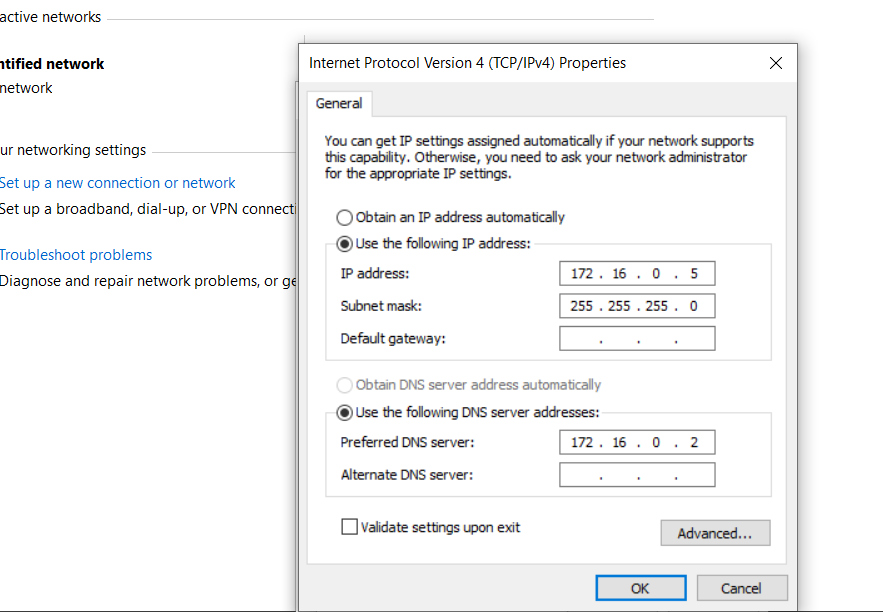
We assigned Windows 10 an IP address of 172.16.0.5 and a subnet mask address of 255.255.255.0. Also, for the DNS, we assign it to the domain controller’s IP address, which is 172.16.0.2.
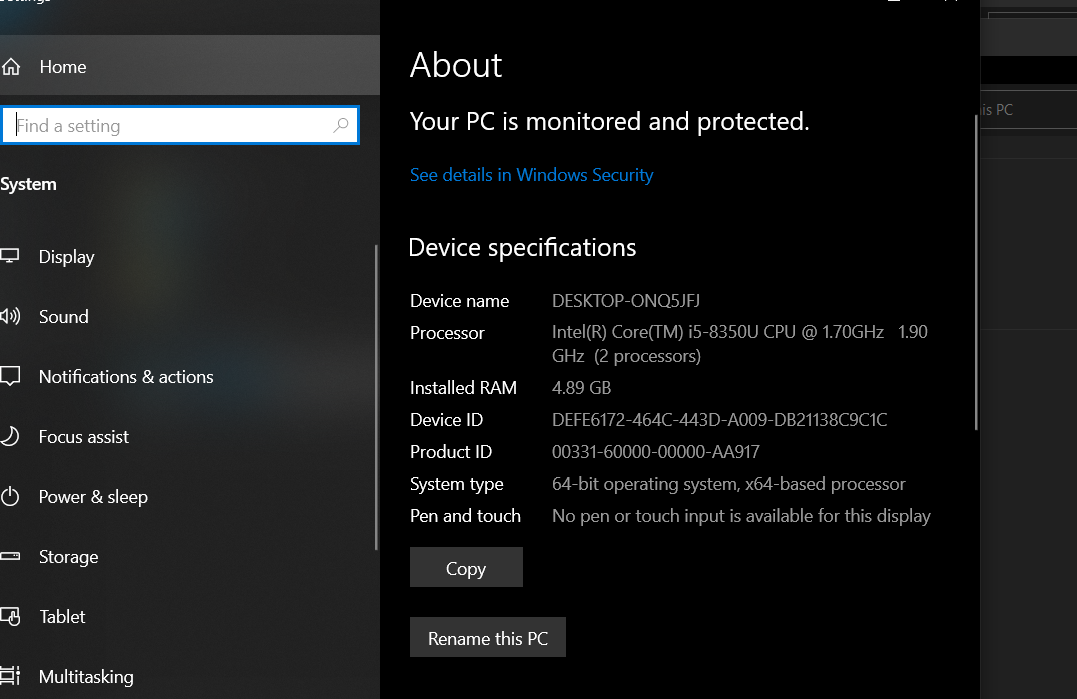
In Search Bar search for About than click on Rename This PC
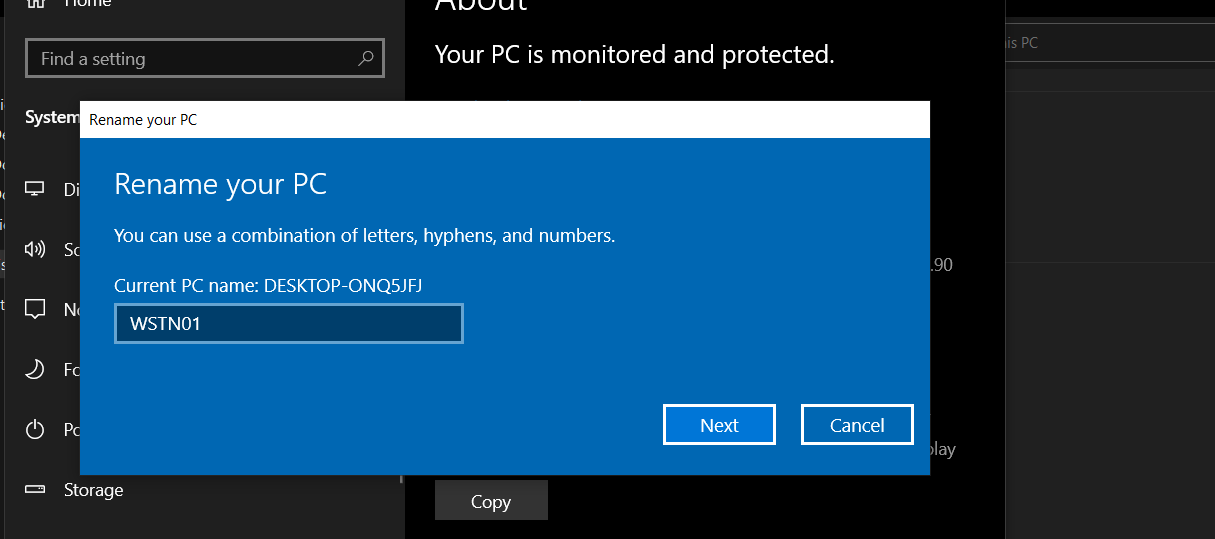
In our case, we named it WSNT01. We need to restart our Windows 10 machine so the changes can take effect.
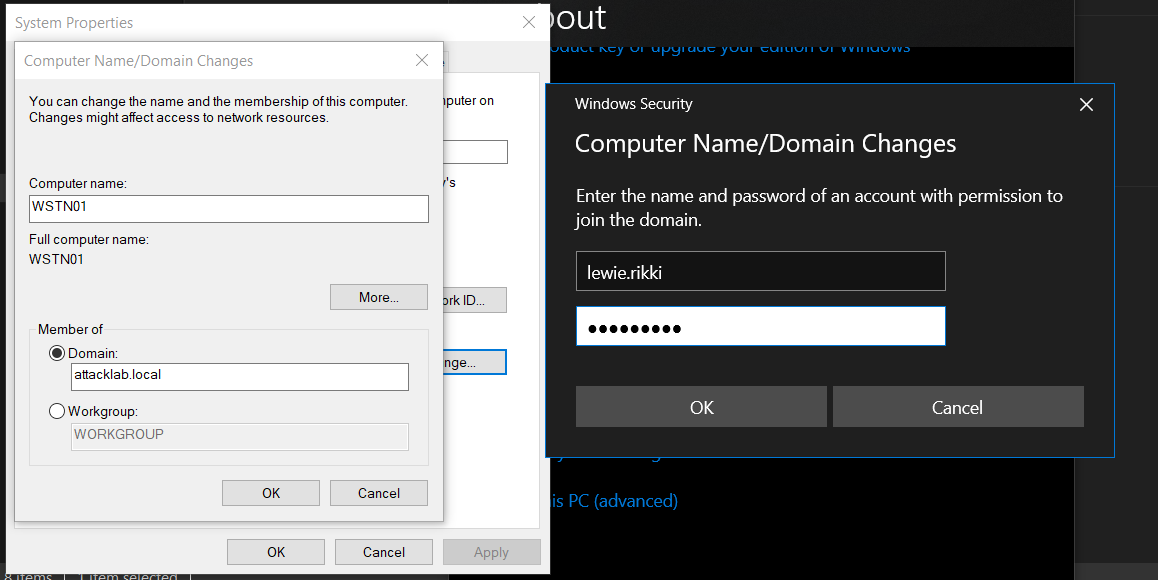
After restarting the WSTN01 machine, go to About>Advanced than click on change. select Domain than add ATTACKLAB.local , than click on ok.
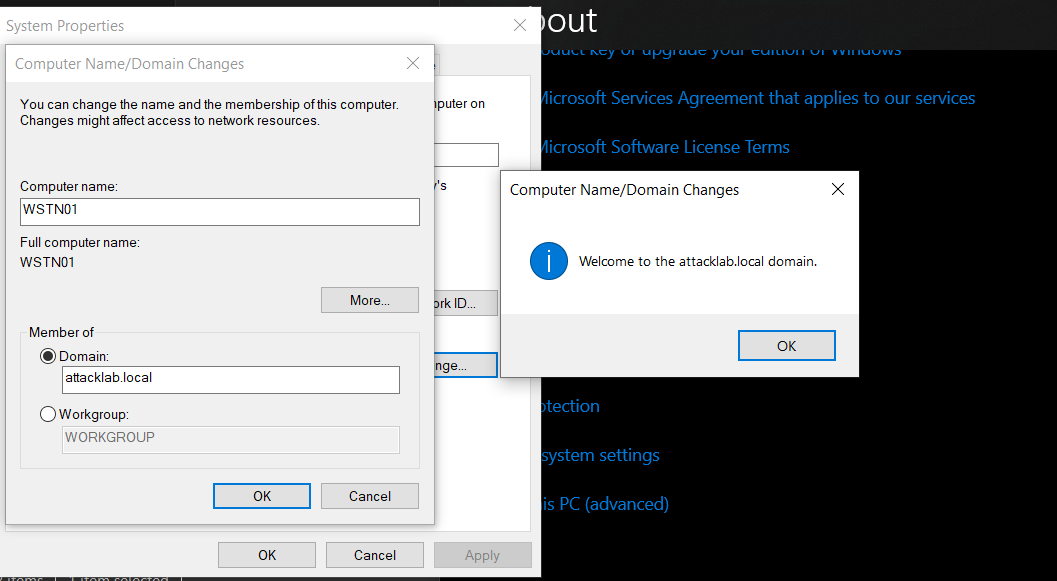
A new Login window pops up and demands that we enter domain user credentials for joining WSTN01 to ATTACKLAB.local, For that, we use the credentials for the user whose password we changed, then click OK.
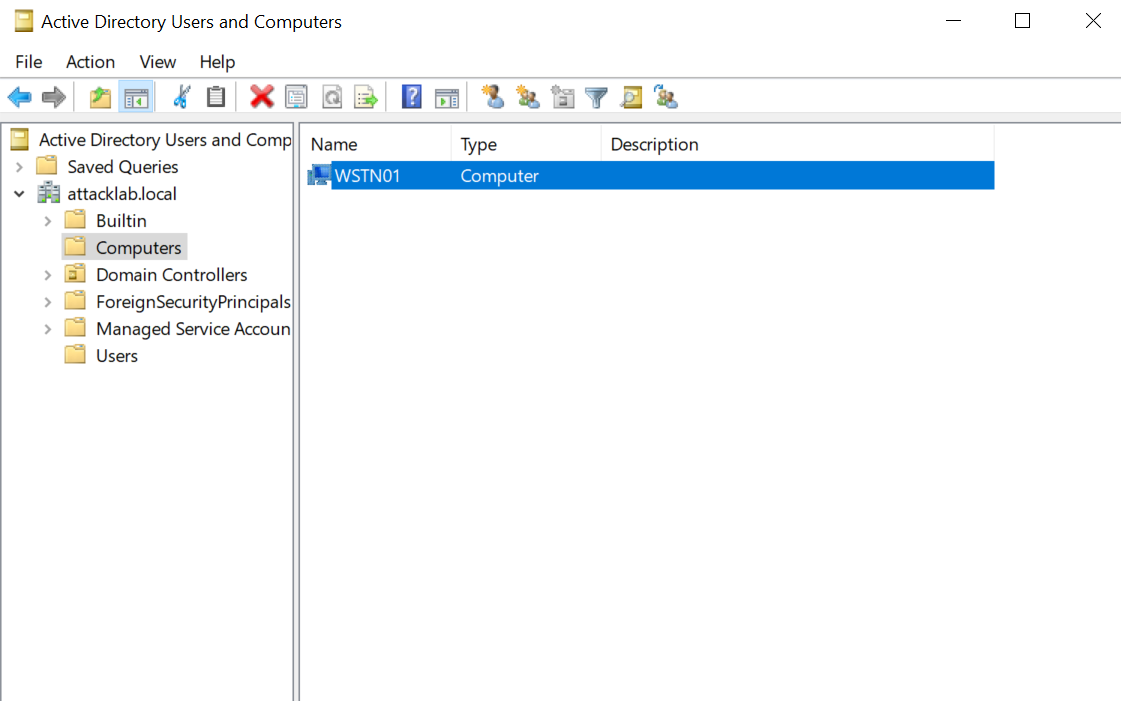
We can verify that WSTN01 is added to domain by checking The Computers OU.

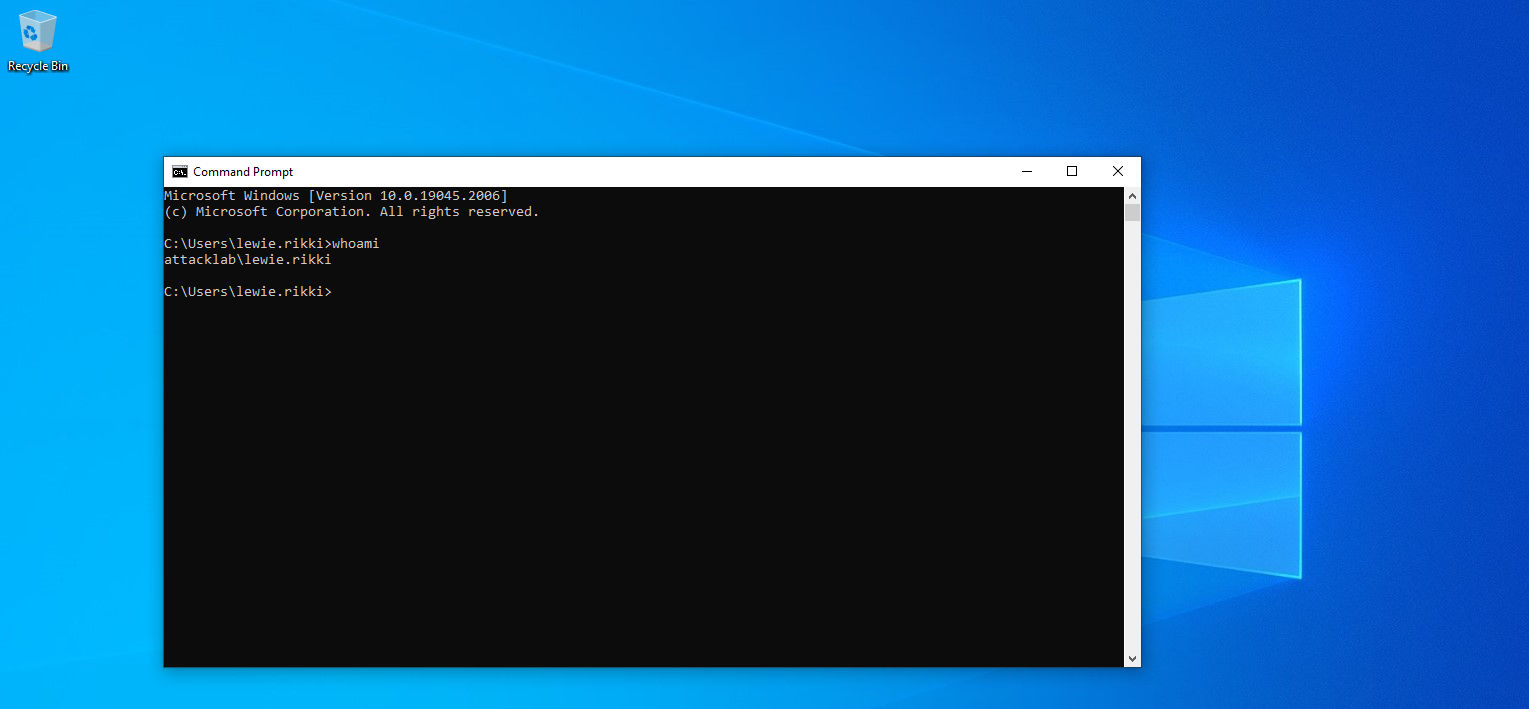
Going back to WSTN01 After restarting, we can login to the machine using the domain user that we added before using this logon format: domain\user
As we approach the conclusion of this blog post, we hope that you have found it both informative and engaging. We deeply appreciate the time and attention you have dedicated to joining us on this enlightening journey. However, our adventure does not halt here! Stay tuned for the next blog post that show how we gonna exploit the multiple Active directory vector attacks that allow us to take over the domain controller.